 Skip to content


No-Clean Flux for PCB Assembly
Decide Whether Flux Residue Can Stay
No-clean flux is formulated so its residue can remain after soldering under suitable process and use conditions. A no-clean label does not mean there will be no visible residue or that every assembly can skip cleaning.
Base the decision on the actual flux or solder paste, soldering and rework history, residue location, operating environment and customer requirements.
Start with the Material and Process Record
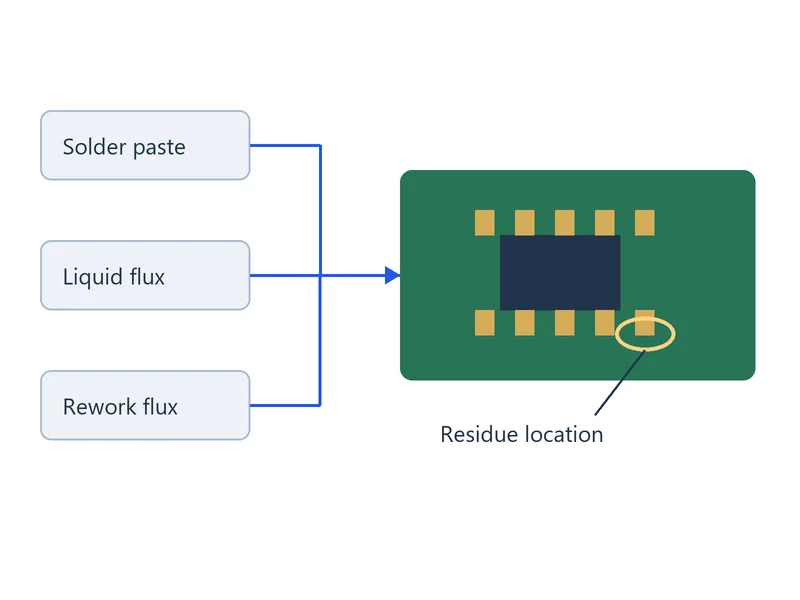
Identify the exact solder paste, liquid flux or flux-cored wire used at each operation, including any added during rework. Check the supplier data sheet and confirm that the soldering process followed the approved conditions.
Record where residue remains. Residue near test pads, connectors or sensitive circuitry may need a different decision from residue around ordinary solder joints.
Retain, Clean or Verify Before Release
| Decision | When it applies | What to check |
|---|---|---|
| Retain | The materials and process are approved for the assembly, and residue meets the agreed requirements | Check residue location, process records and applicable acceptance criteria |
| Clean | Cleaning is specified, or residue interferes with a required downstream operation | Confirm compatibility with the residue, components and board; validate removal, rinsing where applicable, and drying |
| Verify before release | The residue is unidentified, the process changed, or product-specific evidence is missing | Hold affected boards and evaluate representative samples against the relevant electrical, coating or workmanship requirements |
Check Compatibility Before Applying Coating
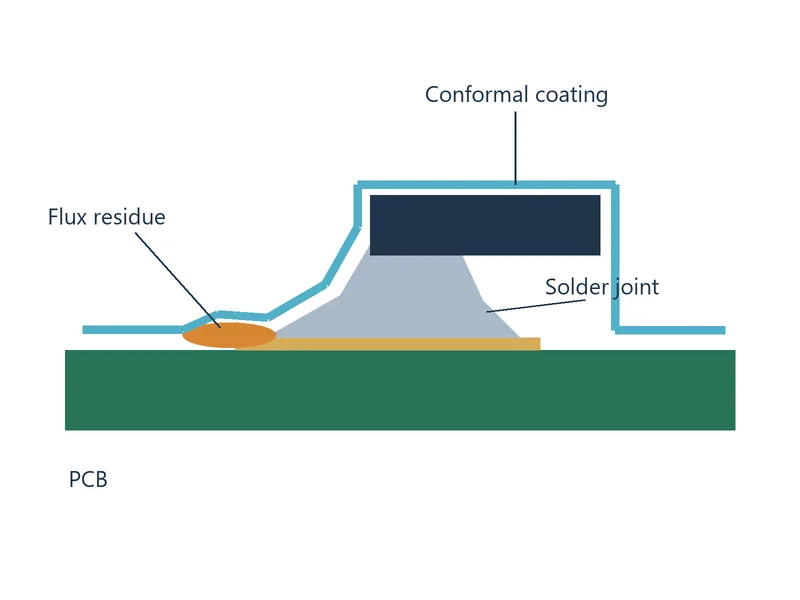
Review the actual combination of soldering materials, residue and conformal coating. Supplier guidance helps screen candidates; use representative assemblies or coupons to verify the approved preparation and coating process.
Check coating coverage and adhesion as specified. If cleaning is required, verify that it reaches the affected areas and that the assembly is dry before coating.
Choose Evidence That Matches the Risk
Visual inspection can document residue location and appearance. It does not quantify ionic contamination or establish electrical reliability.
For moisture exposure or sensitive circuitry, agree on appropriate electrical evidence, such as surface insulation resistance (SIR) testing where specified. Define the test conditions and acceptance limits for the application. A material supplier test does not by itself qualify the finished board.
Review Residue Introduced During Rework
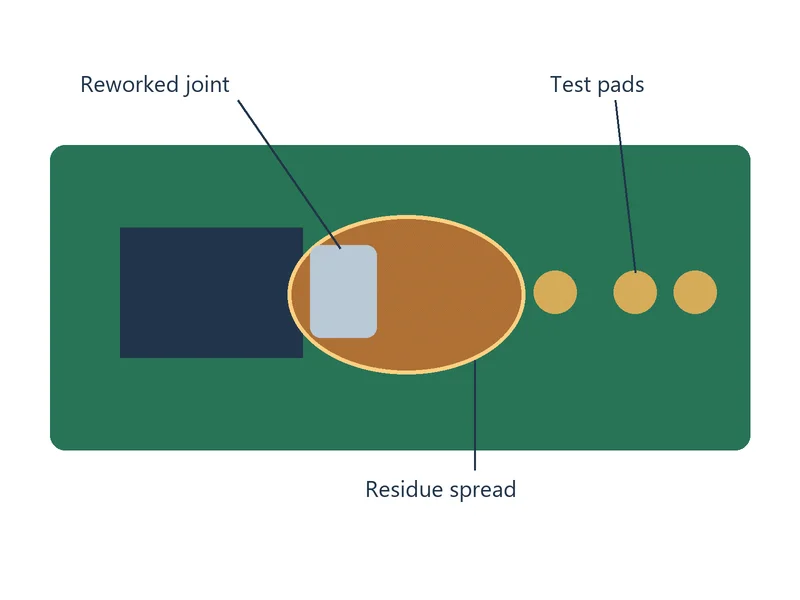
Record the rework material, location and thermal history. Check whether added flux reached areas outside the heated joint or protected features such as contacts and test pads.
Use the approved disposition before release. If removal is required, follow a compatible process and verify the affected area afterward. See our PCB flux residue removal guide for cleaning considerations.
Information to Include in the Assembly Review
- Exact solder paste and flux products, including rework materials
- Assembly revision, affected locations and available process records
- Expected humidity, condensation and sensitive electrical nodes
- Coating product, preparation requirements and areas to keep clear
- Test access, appearance criteria and required cleanliness or electrical evidence, including the method and acceptance limits
Include these details in your PCB assembly requirements so residue and cleaning decisions can be made before production.
No-Clean Flux FAQs
Not by appearance alone. Record the board lot and residue location, then check the flux identity and soldering history against the approved process. Compare the residue with the agreed acceptance criteria. Hold the board for review if the material is unknown or residue reaches a protected area.
Only when the specific residue, coating and preparation process are shown to be compatible. Review the flux and coating suppliers’ guidance. Verify adhesion and coverage after cure on a representative sample made with the intended preparation process.
Identify the sensitive nodes and expected exposure, including condensation where relevant. Agree on representative samples, test temperature (°C), relative humidity (% RH), duration and acceptance limits. If SIR testing is specified, document the bias voltage (V), test pattern and resistance limit (Ω). Do not use a clean appearance as the basis for electrical release.
Record the product and location, then check where the flux spread and what heat it received. Compare those areas with the approved rework and residue criteria. Hold the board if the process or residue falls outside that approval.
It can be one factor. Check probe condition, fixture alignment and the test pad for residue or other contamination. If the residue is suspected and cleaning is approved, clean the affected area, dry it and repeat the test under the same fixture conditions. Retain both results.
Do not assume it will remove every formulation. Identify the residue and check the flux supplier’s cleaning guidance and component restrictions. Agree on the cleaning agent, concentration, contact time and drying conditions where applicable. Validate removal and drying on a representative sample before applying the process to the lot.
Discuss Your Assembly Requirements
Share the materials, residue concerns and any coating or testing requirements so we can review them with your assembly files.